Have you ever looked at your favorite plant and thought, “Is it too late to save you?” Don’t worry, you’re not alone. Many people give up on their plants too soon. But what if I told you that even the saddest, droopiest plant can bounce back to life if you know exactly what to do? In this guide, we’ll walk step by step through how to revive a dying plant even if it looks hopeless right now. Keep reading, you might just become your plant’s superhero.
First, Is Your Plant Really Dying?
Before trying to fix anything, take a closer look. Some plants look dead when they’re actually just stressed.

Signs your plant might still be alive:
- The stem is still green inside when you gently scratch it.
- There are small healthy leaves left.
- Roots are not mushy or completely dry.
If you notice these signs, your plant still has a chance.
Step 1: Diagnose the Problem
Plants don’t die for no reason. Start by figuring out what went wrong. Ask yourself:
Are you overwatering or underwatering?
Overwatering is the most common mistake. If the soil is always wet and smells bad, it could be root rot. On the other hand, if the soil is super dry and pulling away from the pot, it might need more water.
Tip: Check the soil with your finger. If the top two inches feel wet, wait before watering again.
Is your plant getting the right amount of light?
Too much direct sun can burn the leaves. Too little light can make the plant weak and leggy.
Move your plant to a better spot based on its type. For example, succulents love sunlight, while ferns prefer shade.
Is the pot too small or missing drainage holes?
Roots need space and air. A plant in a tight, non-draining pot will suffer.
If your plant has been in the same pot for years, it may be time for an upgrade.
Step 2: Trim the Dead Parts
Use clean scissors to cut off any:
- Dead leaves that are brown or crispy
- Stems that are soft, black, or rotten
Don’t cut healthy green parts. You want the plant to focus its energy on the good parts that can grow back.
Even removing just a few dead leaves can make a big difference.
Step 3: Gently Remove the Plant from Its Pot

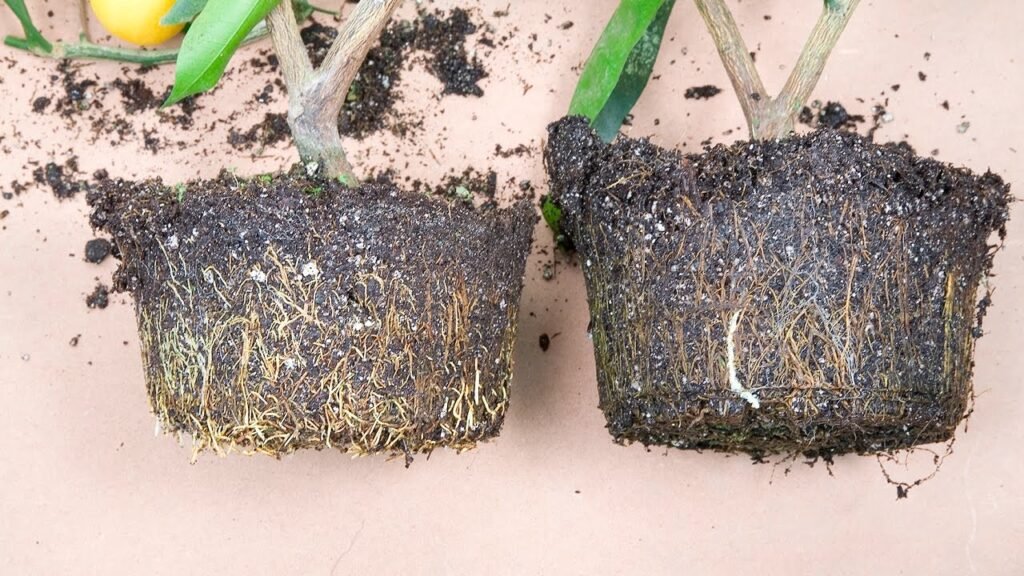
This step can be scary, but it’s important. Gently remove your plant from the pot and take a look at the roots.
What to look for:
- Healthy roots: firm and white or light tan
- Rotten roots: black, mushy, and smelly
Cut off any rotten roots with clean scissors. Be gentle and try not to disturb the healthy roots.
If the roots look okay, you can reuse the pot after cleaning it well.
Step 4: Give It Fresh Soil
Old soil can be compacted, dry, or full of pests. Replace it with fresh, well-draining potting mix.
Choose the right soil:
- For succulents: sandy, fast-draining soil
- For tropical plants: nutrient-rich indoor mix
Also, make sure your pot has drainage holes! If water can’t drain out, roots will rot again.
Step 5: Water the Right Way
Only water your plant when the top inch of soil feels dry. Use your finger to test it.
Water slowly until water comes out of the drainage holes. Let it drain completely. Never let the plant sit in standing water, or the roots could rot again.
Important: Don’t overwater just because you feel bad for the plant.
Step 6: Give It the Right Light
Put your plant in a spot that matches what it needs:
- Low light plants (like pothos or snake plants): near a north-facing window
- Bright light plants (like succulents or herbs): near a sunny south-facing window
If it’s too dark inside, use a grow light for a few hours a day to help your plant recover.
Step 7: Be Patient and Watch Closely
Don’t expect your plant to look better overnight. It can take days or even weeks to show signs of recovery.
Watch for:
- New baby leaves or buds
- Firmer stems
- Greener leaves
Take a photo every few days so you can compare and notice small changes over time.
If you’re not seeing improvement after a few weeks, go back to Step 1 and check for other issues like pests or disease.
Bonus Tips to Help Your Plant Thrive Again
Repot Every Year or Two
Roots need room to grow. If your plant looks cramped or the roots are growing out of the bottom, it’s time to repot.
Don’t Use Too Much Fertilizer
A dying plant doesn’t need plant food right away. Wait until you see new growth before feeding it. Too much fertilizer can stress it more.
Check for Pests
Look under leaves and along stems for bugs or sticky residue. If you find any, rinse the plant and use a natural pest spray like neem oil.
Final Thoughts: Don’t Give Up Too Soon
It’s easy to feel frustrated when a plant looks like it’s beyond saving. But with a little time, care, and the steps in this guide, many plants can bounce back stronger than ever. Just like people, plants go through rough patches too. The good news? Now you know how to help them heal—and the more you do it, the better you’ll get at it.
