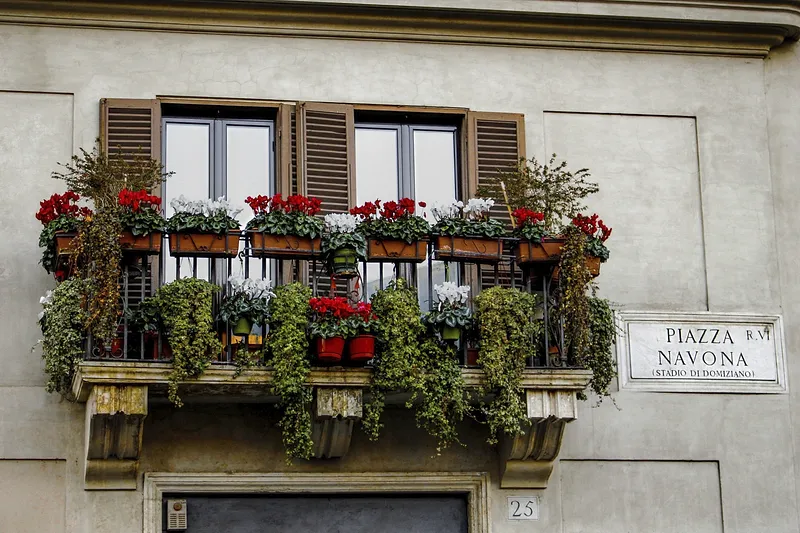
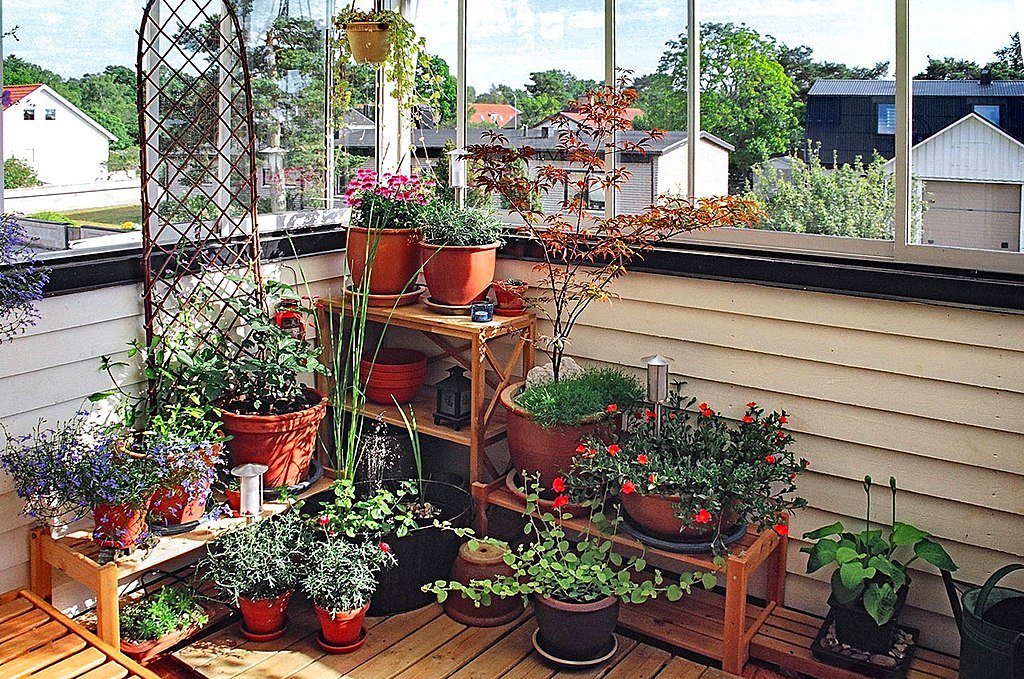
Have you ever looked at your tiny balcony and wondered if you could grow your own food or flowers there? You’re not alone. Many people living in cities think gardening is only for those with backyards. But here’s a secret: even a small balcony can become a green oasis if you know what to do. In this article, you’ll learn how to start an urban garden from nothing—no soil, no tools, no experience. And by the end, you’ll discover a beginner-friendly method that most new gardeners completely overlook.
Why Start an Urban Balcony Garden?
Urban gardens help you grow fresh herbs, vegetables, or flowers right outside your door. You don’t need a big space. You don’t even need a green thumb. A balcony garden gives you fresh air, beauty, and food without ever leaving home.
It’s also good for the planet. Plants clean the air, support pollinators, and reduce heat in the city. Plus, gardening is a relaxing hobby that reduces stress and improves your mood.
Step 1: Know Your Balcony
Before you buy anything, take a good look at your space. Ask yourself:
- How much sunlight does it get each day?
- Is it windy?
- How much weight can your balcony safely hold?
- Is there a wall, railing, or ceiling for hanging pots?
Most vegetables and herbs need 4 to 6 hours of sun. If your balcony faces south or west, that’s great. If it faces north, you’ll need to choose shade-tolerant plants.
Write down what you see. This will help you pick the right plants and containers later.
Step 2: Choose the Right Containers
In small spaces, every inch matters. You can grow plants in:
- Plastic pots (lightweight and cheap)
- Clay or ceramic pots (look nice but heavier)
- Grow bags (easy to move and store)
- Window boxes or railing planters
- Hanging baskets
- Vertical planters or shelves
Make sure every container has drainage holes so water doesn’t collect at the bottom. Too much water can rot the roots.
Also, make sure containers are deep enough. Leafy greens need about 6 inches of soil. Tomatoes and peppers need at least 12 inches.

Step 3: Use Good Potting Soil
Don’t use soil from the ground. It’s too heavy and may have bugs. Use potting mix made for containers. It’s light, drains well, and holds the right amount of moisture.
You can also mix in a little compost to give your plants extra food. Compost adds nutrients without using chemicals.
Step 4: Pick Easy Plants to Start With
If you’re new to gardening, start with plants that are easy to grow. Here are a few great choices:
- Herbs like basil, mint, chives, and parsley
- Leafy greens like lettuce, spinach, and arugula
- Tomatoes in containers or hanging pots
- Radishes and carrots in deep planters
- Strawberries in hanging baskets
- Flowers like marigolds or petunias to attract bees
Start small. Try 3 to 5 plants, and see what works. Once you gain confidence, add more.
Step 5: Learn How to Water Properly
Balcony plants dry out faster than garden beds because they’re in small containers. Watering is key. Here’s how:
- Stick your finger into the soil. If the top inch feels dry, it’s time to water.
- Water early in the morning or late in the evening.
- Water until it runs out of the bottom of the pot.
- In summer, you may need to water once a day.
Too much water can be just as bad as too little. Always check the soil first.
Step 6: Feed Your Plants
Plants in containers can’t get nutrients from the ground, so you’ll need to help them. Use a liquid fertilizer every 2 to 4 weeks, or add slow-release pellets to the soil.
If your plants have pale leaves, grow slowly, or stop producing, they might need more food.
Step 7: Maximize Your Space with Vertical Gardening

You don’t need to grow everything on the floor. Use walls, railings, or shelves to go up instead of out. Here are a few ideas:
- Hanging baskets for herbs and flowers
- Wall-mounted planters
- Stacked shelves or crates
- Trellises for climbing plants like beans or cucumbers
Vertical gardening saves space and makes your balcony feel like a jungle in the best way.
Step 8: Protect Your Plants from Wind and Pests
Balconies, especially on higher floors, can be windy. Wind dries out soil and breaks stems. Use these tricks:
- Group pots together to block wind
- Use railing covers or bamboo screens
- Stake tall plants so they don’t tip over
For bugs, check your plants often. Spray with water to knock off aphids, or use a natural pest spray made from neem oil.
Bonus Tip: The One Thing Most People Forget
Here’s a trick many first-time gardeners don’t think about: Start with seeds and seedlings that are right for your local climate. Local nurseries or seed companies usually sell plants that match your season and conditions. They’re more likely to survive and grow well.
Also, keep a notebook or take pictures. Note what you planted, when you watered, and how things are growing. It helps you learn and avoid mistakes next time.
Starting a balcony garden doesn’t need to be hard or expensive. With a little care, you can grow your own food, flowers, and joy—even in the middle of the city.
